Everything You Need to Know About Coats of Texture Applied Painting
Are you looking to give your walls a unique and personalized look? If so, you've come to the right place. Coats of texture applied painting is a technique that allows you to create intricate and visually appealing textured designs on your walls. In this article, we'll delve into the world of texture applied painting and explore the various types of textures you can achieve, the benefits of texture applied painting, and the step-by-step process of applying it.
Types of Textured Coats Applied Painting
Textured coats applied painting comes in a wide range of styles and finishes. Some of the most popular types of texture include:
- Joint compound textures: These textures are created using a trowel to apply a mixture of joint compound and water to the wall.
- Spray textures: These textures require a specialized spraygun to apply a textured finish.
- Plaster textures: These textures are created using a combination of plaster and water to achieve a unique texture.
- Oozenko textures: These textures are created using a specialized mixture of cement, water, and additives to achieve a durable and long-lasting finish.
Benefits of Texture Applied Painting
Coats of texture applied painting offers numerous benefits over traditional painting methods. Some of the benefits include:
- Added protection: Texture applied painting provides an additional layer of protection against wear and tear.
- Easy maintenance: Texture applied painting is easy to clean and maintain, making it a great option for high-traffic areas.
- Increased property value: Texture applied painting can increase the value of your property and make it more attractive to potential buyers.
- Energy savings: Texture applied painting can help reduce energy consumption by providing a smooth surface for insulation.

Step-by-Step Process of Texture Applied Painting
Applying texture to your walls is a multi-step process that requires patience and attention to detail. Here's a step-by-step guide to get you started:
1. Preparation: Before applying texture, make sure the wall is clean, dry, and free of any debris. Ensure the surface is properly primed to ensure good adhesion.
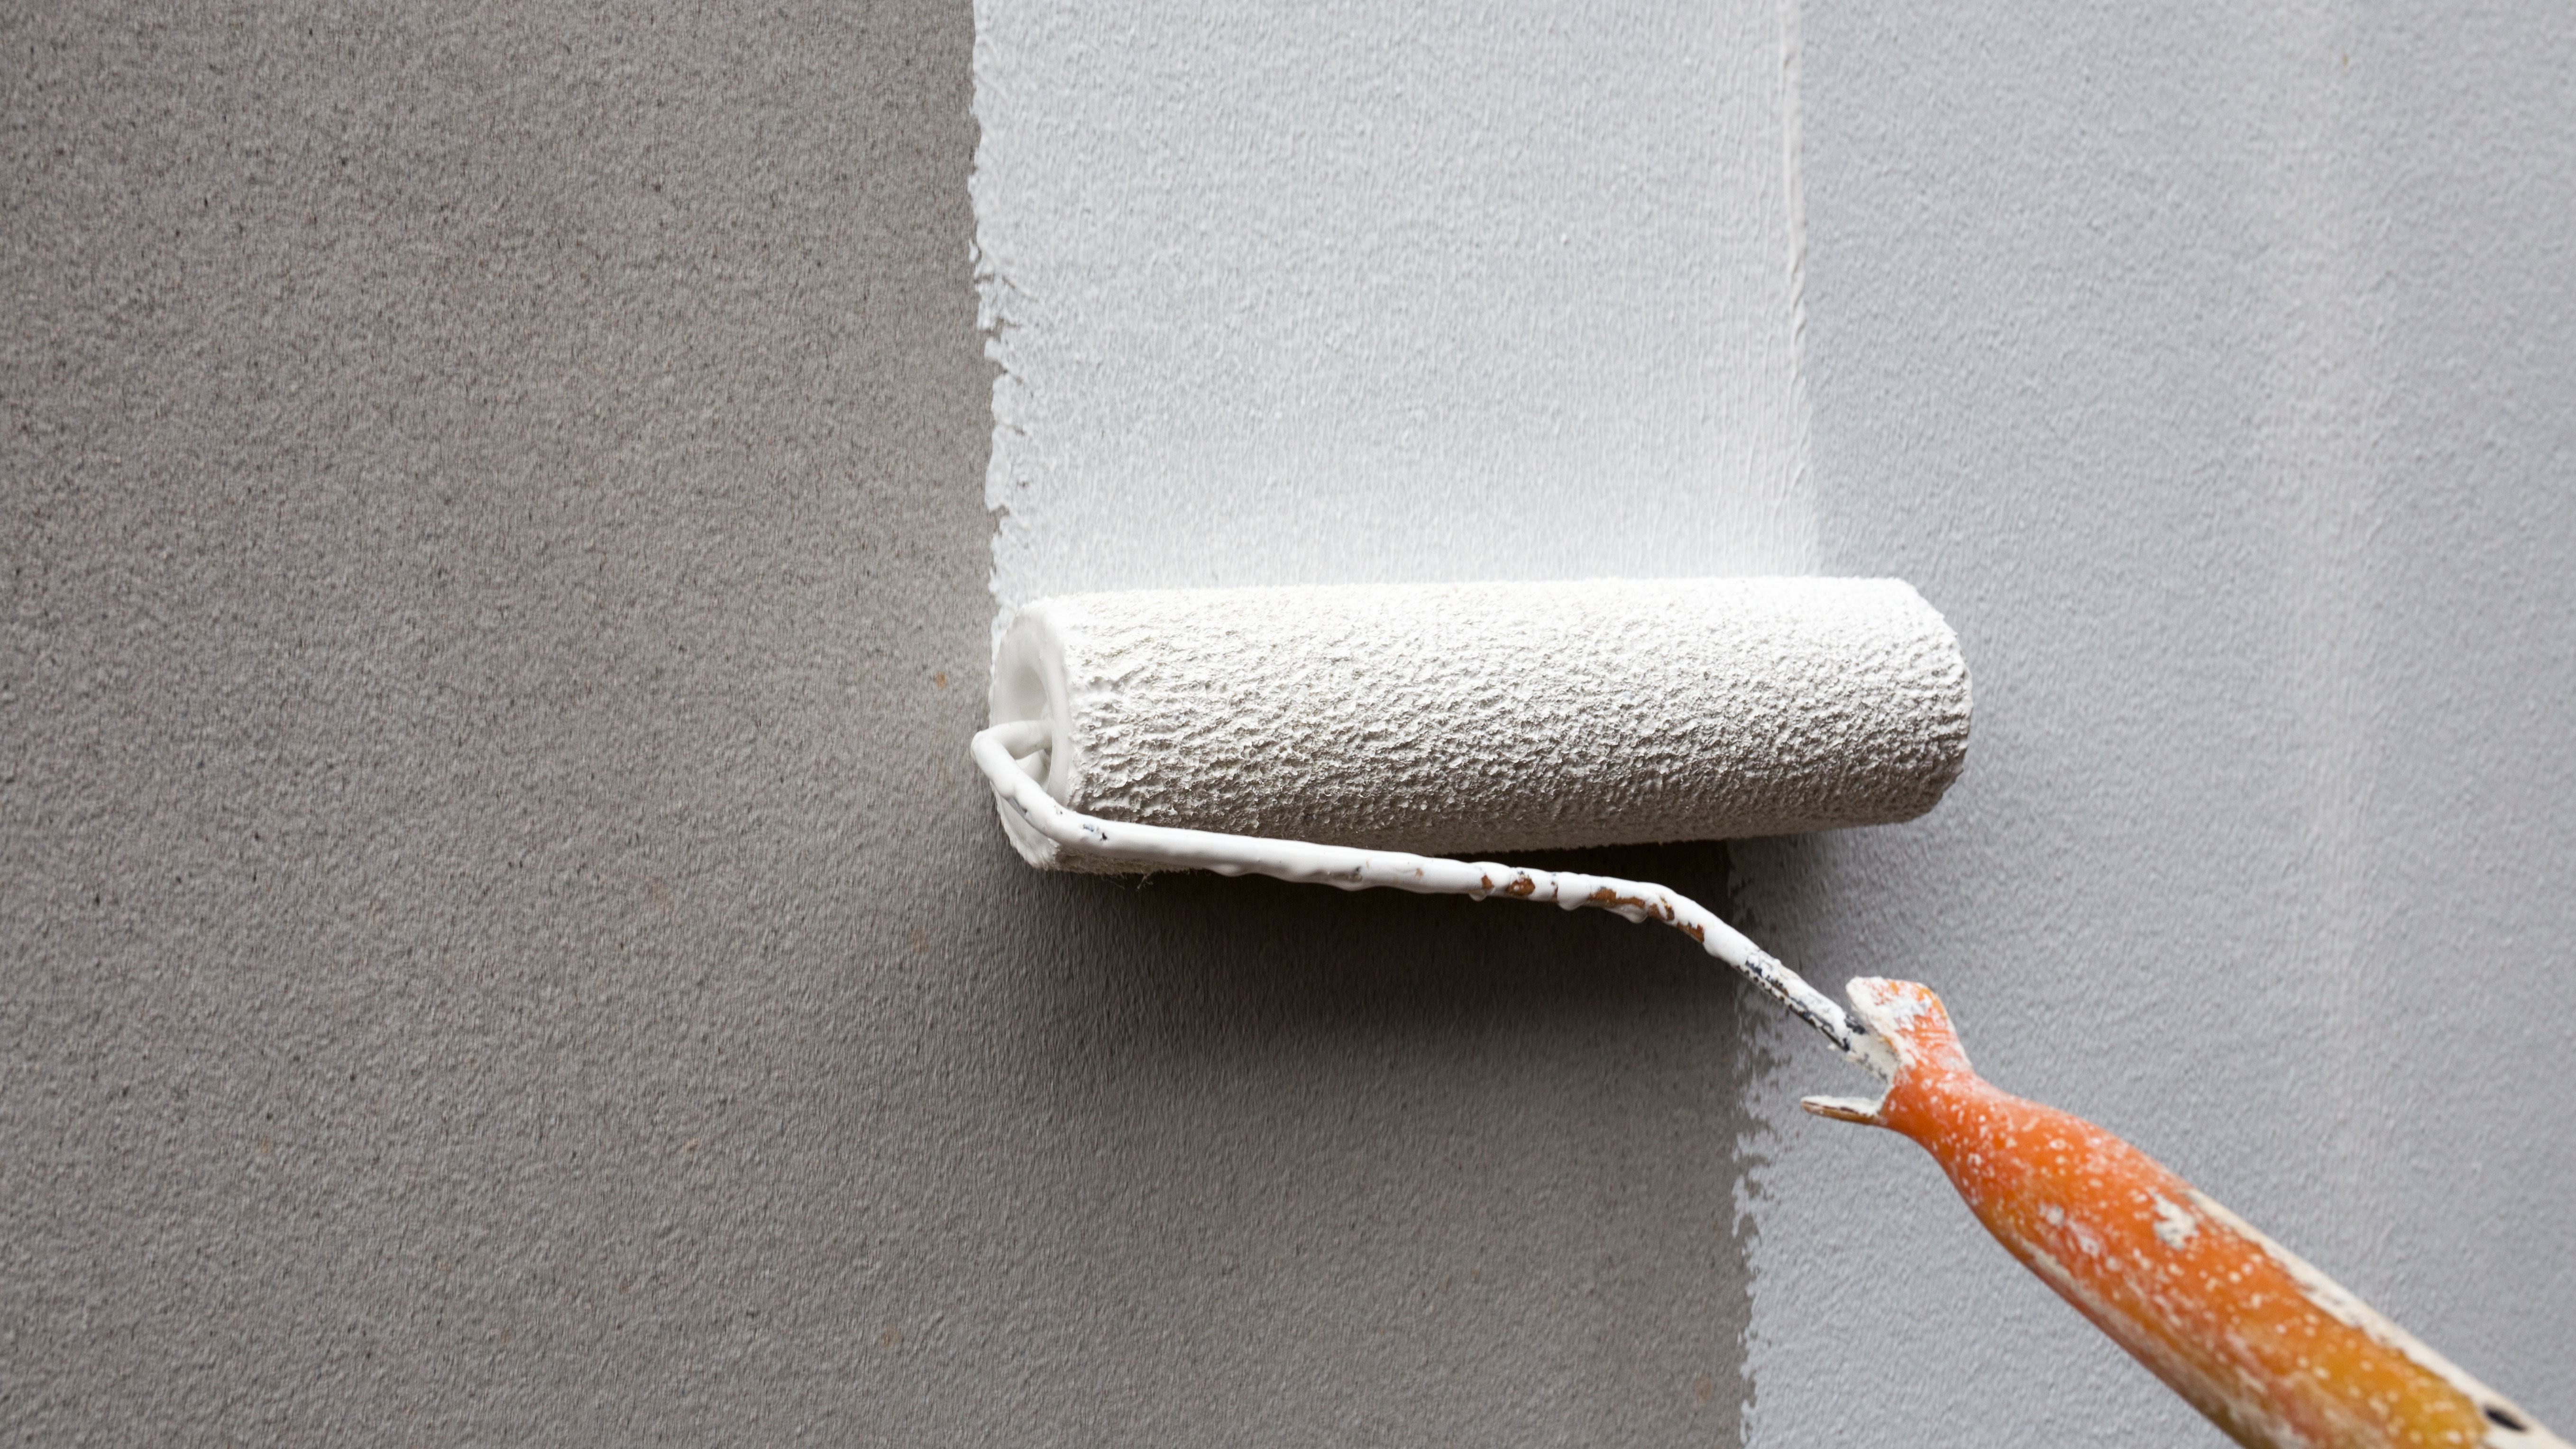
2. Application: Apply the texture using the recommended method, whether it's a trowel, spraygun, or other specialized tool.
3. First coat: Apply the first coat of texture and allow it to dry completely before applying additional coats.
4. Additional coats: Apply subsequent coats of texture, allowing each coat to dry before applying the next one.
5. Finishing: Once the final coat is applied, the texture will be dry and ready to paint.
Such details provide a deeper understanding and appreciation for Coats Of Texture Applied Painting.
Do's and Don'ts of Texture Applied Painting
To achieve a professional finish, follow these do's and don'ts when applying texture to your walls:
- DO: Clean the surface properly before applying texture.
- DO: Use the recommended application method for the specific texture product.
- DO: Apply thin, even coats to avoid drips and streaks.
- DON'T: Apply too much texture in one area.
- DON'T: Use a roller to apply texture.
Final Result
Conclusion
Coats of texture applied painting is a unique and personalized way to give your walls a one-of-a-kind look. With its various types of textures and finishes, it's a versatile technique that can be used in a wide range of applications, from interior design to exterior decoration. By following the step-by-step process and do's and don'ts outlined in this article, you'll be well on your way to achieving a professional finish that will leave your walls looking smooth, even, and stunning.

:max_bytes(150000):strip_icc()/hide-flaws-with-stipple-texture-4121027_05_rollout-55967ff766794e65a00ebbda052e6e51.jpg "Step by Step Guide to Applying Texture Coating - Luxture")


")


